
Remote Door Opener with Arduino
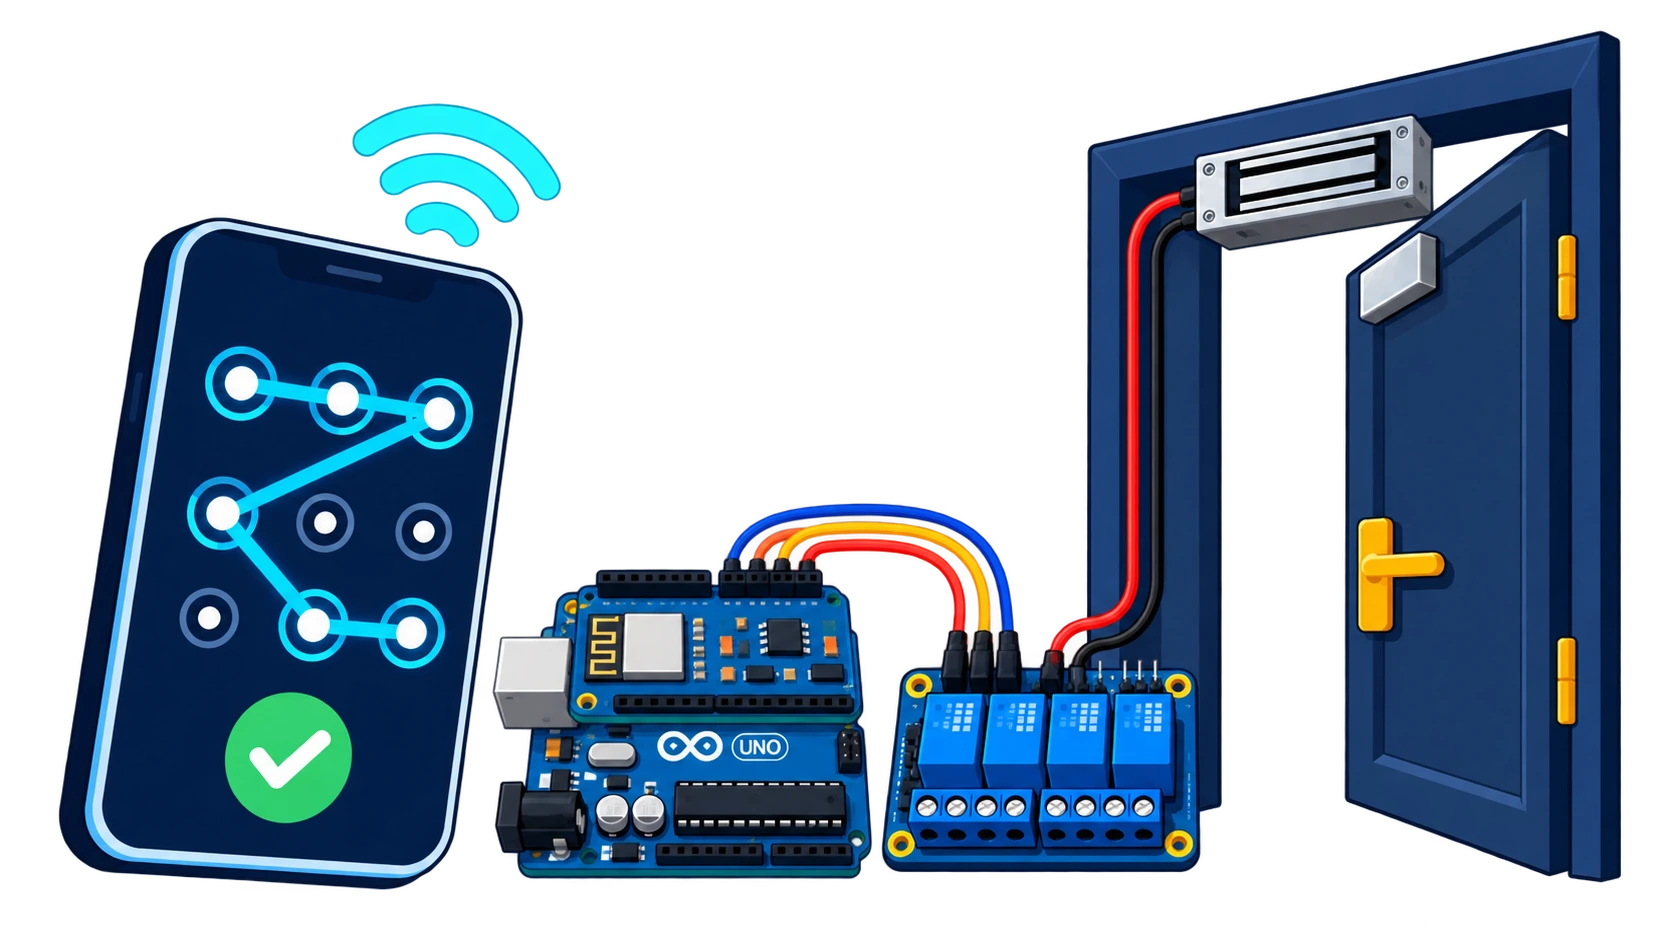
Create a pattern password-protected remote door opener using Arduino Uno, Wi-Fi, and an electromagnetic lock.
- Arduino
- Intermediate
- 60–90 minutes
- 4 steps
Shop this project
CartYou'll need


Prices from vilros.com. Tax and shipping at checkout.
Before you start, you'll need
- Arduino Uno
- Wi-Fi Shield (for Arduino)
- 4-port relay board
- Electromagnetic lock
- Breadboard and jumper wires
Connect the hardware
About 15 minutes
Wire the Wi-Fi shield, relay board, and electromagnetic lock.
- Stack the Wi-Fi shield onto the Arduino Uno.
- Connect the relay board to the Wi-Fi shield (it mounts on top).
- Set the relay to NC (Normally Closed) mode so the lock stays engaged by default.
- Connect the electromagnetic lock to the relay board output terminals.
- Ensure the lock has its own power supply (usually 12V) connected to the relay's common and NO terminals.
You should see
All hardware is stacked and connected. The relay board should have power LEDs lit.
Upload the Arduino sketch
About 20 minutes
Program the Arduino to serve a web interface and control the relay.
- Install the Phpoc library in Arduino IDE (Sketch → Include Library → Manage Libraries, search for 'Phpoc').
- Copy the complete sketch below into a new Arduino sketch.
- Change the pattern variable to your desired unlock pattern (e.g., '1,4,8,6,3').
- Upload the sketch to your Arduino.
- Open the Serial Monitor to see the Arduino's IP address.
#include <Phpoc.h>
#include <PhpocExpansion.h>

#define CMD_AUTH 0
#define CMD_CTRL 1
#define ACCESS_ACCEPTED "0\r\n"
#define ACCESS_UNAUTHORIZED "1\r\n"
#define DOOR_STATE_OPEN "2\r\n"
#define DOOR_STATE_CLOSE "3\r\n"
#define DOOR_TIMEOUT_MS 10000

PhpocServer server(80);
ExpansionRelayOutput relay(1, 0);

String pattern;
bool authenticated;
unsigned long lastActiveTime;

void setup() {
  Serial.begin(9600);
  while(!Serial);

  Phpoc.begin(PF_LOG_SPI | PF_LOG_NET);
  server.beginWebSocket("web_pattern");

  Serial.print("WebSocket server address: ");
  Serial.println(Phpoc.localIP());

  Expansion.begin();

  pattern = String("1,4,8,6,3");
  authenticated = false;
  lastActiveTime = 0;
}

void loop() {
  PhpocClient client = server.available();

  if (client) {
    String data = client.readLine();

    if(data) {
      int pos = data.indexOf(':');
      int cmd = data.substring(0, pos).toInt();

      if(cmd == CMD_AUTH) {
        String reqPattern = data.substring(pos+1);
        reqPattern.remove(reqPattern.indexOf(13));
        reqPattern.remove(reqPattern.indexOf(10));

        if(pattern.equals(reqPattern)) {
          authenticated = true;
          sendResponse(ACCESS_ACCEPTED, 3);
          lastActiveTime = millis();
        } else {
          authenticated = false;
          sendResponse(ACCESS_UNAUTHORIZED, 3);
        }
      }

      if(cmd == CMD_CTRL) {
        if(authenticated) {
          int control = data.substring(pos+1).toInt();

          if(!control){
            relay.off();
            sendResponse(DOOR_STATE_CLOSE, 3);
          } else {
            relay.on();
            sendResponse(DOOR_STATE_OPEN, 3);
          }

          lastActiveTime = millis();
        } else {
          sendResponse(ACCESS_UNAUTHORIZED, 3);
        }
      }
    }
  }

  if (authenticated && ((millis() - lastActiveTime) > DOOR_TIMEOUT_MS)){
    authenticated = false;
    sendResponse(ACCESS_UNAUTHORIZED, 3);
    relay.off();
    delay(500);
    sendResponse(DOOR_STATE_CLOSE, 3);
  }
}

void sendResponse(char *data, int len) {
  server.write(data, len);
  Serial.print(">>");
  Serial.print(data);
}
Change the pattern string to your desired unlock sequence. The timeout is set to 10 seconds.
You should see
The sketch uploads successfully. The Serial Monitor shows the Arduino's IP address.
It didn't work
Compilation error about Phpoc library.
Install the Phpoc library from the Arduino Library Manager (Sketch → Include Library → Manage Libraries, search for 'Phpoc').
Wi-Fi shield not connecting.
Check that the Wi-Fi shield is properly seated on the Arduino. Configure your Wi-Fi network settings in the Phpoc library examples first.
Set up the web interface
About 15 minutes
Upload the web page to the Wi-Fi shield.
- Download the door.php file from the project source (link in the original Vilros article).
- Update the IP address in door.php to match your Arduino's IP (from the Serial Monitor).
- Use the Phpoc library's web file upload tool to transfer door.php to the Wi-Fi shield.
- Access the web page from any browser on the same network by navigating to your Arduino's IP address.
You should see
The web page loads in your browser showing a pattern unlock grid and a door handle image.
Test the door opener
About 10 minutes
Verify the pattern unlock and relay control.
- On the web page, draw your unlock pattern on the grid.
- If the pattern is correct, you should see the door handle become rotatable.
- Rotate the door handle image to trigger the relay.
- Listen for the relay click and check that the electromagnetic lock disengages.
- The lock should re-engage after the timeout (10 seconds).
You should see
Entering the correct pattern unlocks the interface, rotating the handle triggers the relay, and the lock disengages.
It didn't work
Pattern never unlocks the interface.
Check the Serial Monitor for debugging output. Verify the pattern string in the sketch matches the pattern you're drawing on the web page.
Relay doesn't click or lock doesn't disengage.
Check the relay board wiring and ensure it's set to NC mode. Verify the electromagnetic lock has its own power supply connected correctly.
What to do next
- Laser TripwireBuild another security project with Raspberry Pi and a laser sensor.
- More Arduino projectsExplore intermediate and advanced Arduino builds.
Stuck? Contact Vilros Support with your board model and what you see on screen.