
Smart Motion Detection with Raspberry Pi AI Camera
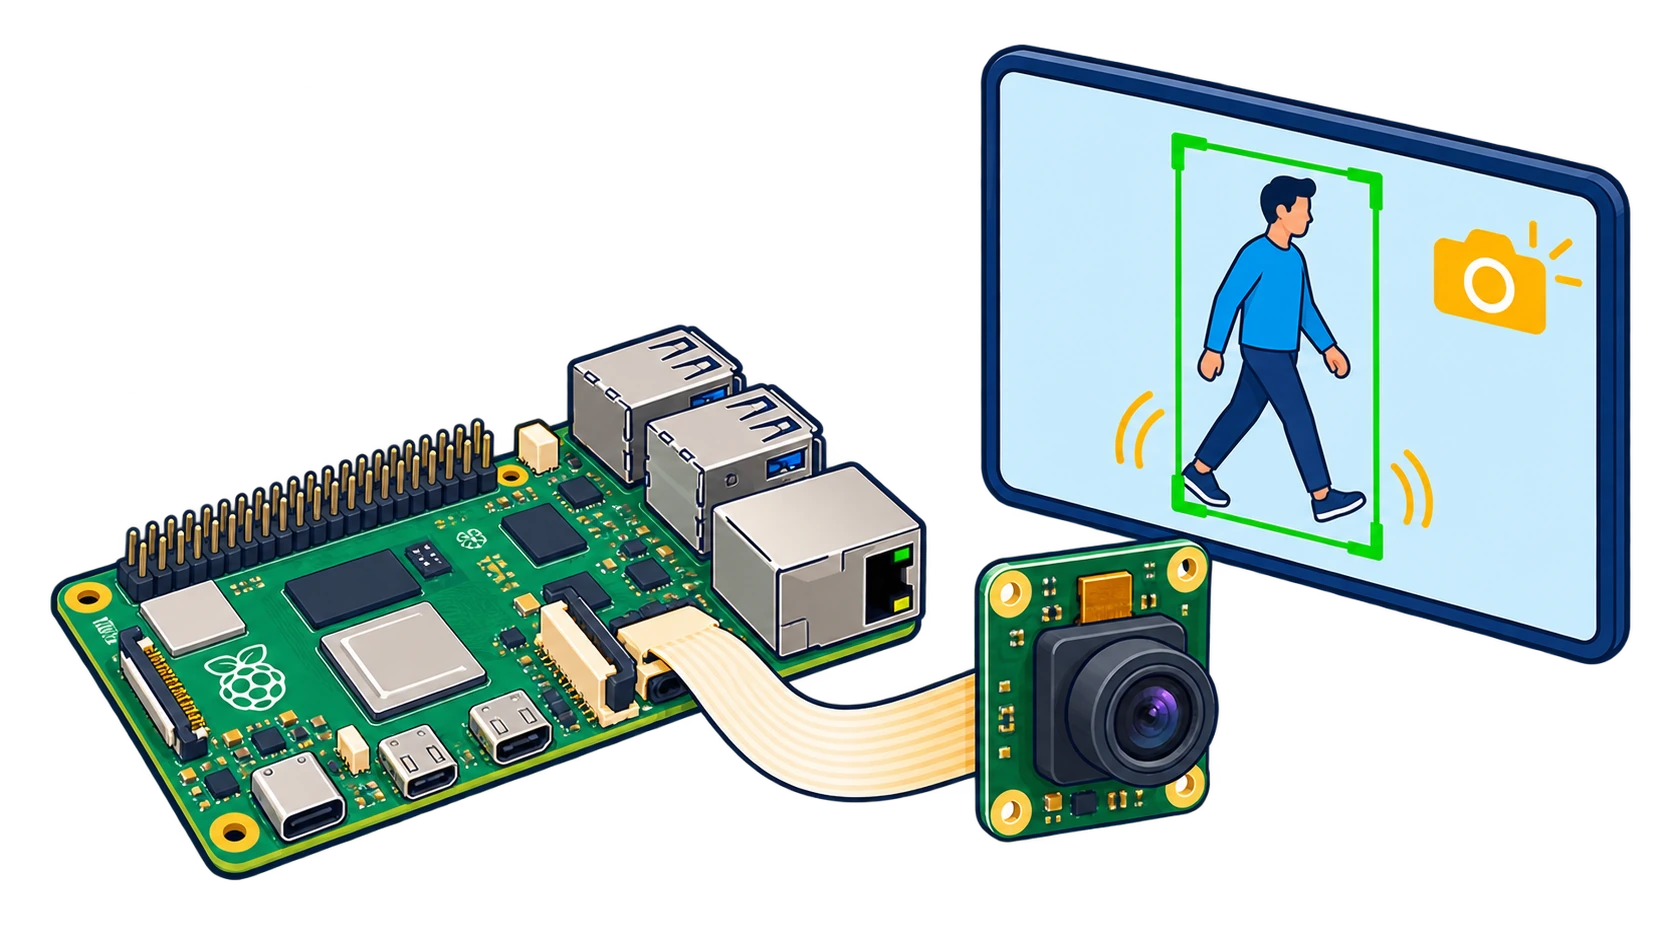
Build an intelligent motion detection system that combines AI object detection, multi-object tracking, and pixel-based motion analysis to capture images only when real movement occurs.
- Raspberry Pi
- Intermediate
- 2 hours
- 6 steps
Shop this project
CartYou'll need
- Raspberry Pi 5 (4GB)Sold out · view product
 Raspberry Pi AI Camera$77.92
 Raspberry Pi 27W USB-C Power Supply For Raspberry Pi 5Black$14.46
 Micro SD Card Preloaded Raspberry Pi OS (Legacy-32 Bit)16GBSold out · view product
Prices from vilros.com. Tax and shipping at checkout.
Before you start, you'll need
- Raspberry Pi 5 (4GB or 8GB)
- Raspberry Pi AI Camera
- Power supply (5V 5A USB-C recommended)
- MicroSD card with Raspberry Pi OS installed
- Python 3 and uv package manager
Clone the sample code and install dependencies
About 15 minutes
Get the Sony AITrios sample apps repository and set up the Python environment.
- Open Terminal on your Raspberry Pi.
- Clone the repository with the motion sensor code.
- The uv package manager will automatically install dependencies from pyproject.toml when you run the app.
git clone https://github.com/SonySemiconductorSolutions/aitrios-rpi-sample-apps.git
cd aitrios-rpi-sample-apps/examples/motion-sensorThis downloads the complete sample application including NanoDet model, BYTETracker, and motion detection code.
You should see
You're now in the motion-sensor directory with app.py, app_video.py, and example.json visible.
It didn't work
Git is not installed or clone fails.
Install git first with 'sudo apt update && sudo apt install git', then try cloning again.
Define motion detection areas
About 10 minutes
Set up polygon regions where motion should trigger capture.
- The example.json file defines Areas as polygon coordinates. These restrict detection to specific regions like a doorway or loading zone.
- You can edit example.json manually to change the monitored area coordinates, or use the in-app configurator tool later.
- For now, the default example.json works to test the entire camera view.
You should see
The example.json file exists in the motion-sensor directory.
It didn't work
You want to monitor only part of the camera view.
Edit example.json and adjust the points array to define your custom polygon area, or run the configurator tool included in the repo.
Run the image-capture version
About 30 minutes
Start the motion-triggered image capture app and see it detect moving objects.
- Run the app with uv, which installs dependencies automatically and starts the detection pipeline.
- The app uses NanoDet for object detection, BYTETracker for stable IDs, and a Motion module for pixel-change analysis.
- When a tracked object moves (and optionally stays inside your defined Area), the app saves a timestamped image to ./images.
uv run app.py --json-file example.jsonAdd --area flag to visualize the monitored regions overlayed on the live stream.
You should see
The camera stream appears with bounding boxes around detected objects. When something moves, images are saved to the ./images directory with timestamps.
It didn't work
uv is not installed.
Install uv with 'curl -LsSf https://astral.sh/uv/install.sh | sh', then run the command again.
No images are captured even when you move.
Check that objects are visible in the stream and inside your defined Area. Try removing Area restriction by editing example.json to cover the full frame.
Camera not detected or permission denied.
Ensure the AI Camera is properly connected to the camera port. Check camera is enabled in raspi-config (Interface Options → Camera).
Understand how the system works
About 15 minutes
Learn the six-component pipeline that makes smart motion detection work.
- The system runs six stages: (1) NanoDet object detection produces bounding boxes and class IDs. (2) Detection filtering applies confidence thresholds and optional class filters (e.g., only detect 'person'). (3) BYTETracker assigns persistent IDs so the same object keeps the same ID across frames. (4) Motion estimation computes motion bounding boxes from pixel changes. (5) Area gating restricts checks to user-defined polygon regions. (6) Matching logic confirms a detected object is also moving, then triggers image capture.
- This merge of AI detection and pixel motion avoids false triggers from lighting changes or static objects, and reduces storage by capturing only when it matters.
You should see
You understand why this approach is smarter than pure frame differencing or always-on object detection.
Try the video-recording version
About 20 minutes
Record video clips instead of single images when motion is detected.
- Stop the image-capture app if it's still running (press Ctrl+C).
- Run the alternate app_video.py script, which records video clips instead of saving single frames.
- Recorded clips are saved with timestamps, making it easy to review events.
uv run app_video.py --json-file example.jsonVideo mode works the same as image mode but saves .mp4 clips.
You should see
When motion is detected, video clips are saved instead of still images.
It didn't work
Video files are too large or fill storage quickly.
Adjust the capture duration or reduce video resolution in the code, or store clips on a larger USB drive.
Customize detection settings
About 15 minutes
Tune confidence thresholds, class filters, and trigger logic for your use case.
- Open app.py in a text editor to adjust settings.
- Change the confidence threshold (default 0.5) to make detection more or less sensitive.
- Filter to specific classes (e.g., only trigger on 'person' detections) by adjusting the class_id filter.
- Modify the trigger logic in the check() function to change when captures happen (e.g., require motion for more frames before triggering).
You should see
You've edited detection parameters to fit your monitoring needs—maybe stricter for security, or looser for wildlife observation.
It didn't work
Too many false positives (captures when nothing important moves).
Increase the confidence threshold or add a class filter to ignore irrelevant objects.
Missing real events (motion not captured).
Lower the confidence threshold or reduce the minimum motion duration required to trigger.
What to do next
- Explore more AI projectsTry other AI Camera samples
- Learn about BYTETrackerRead the paper on multi-object tracking
- Raspberry Pi forumsGet help with setup issues
Stuck? Contact Vilros Support with your board model and what you see on screen.